TeachBooks versioning with changelog#
Versions combined with a changelog can be a very effective way to communicate book changes to the reader and allow reuse of specific versions. We recommend TeachBooks versioning, which comes in two flavors:
academic_year.additions.errataversioning for books tailed-made for courses in which content is added / adapted during the course and might be restructured extensively every year while remaining to be available in the original form. An example can be seen in the source repository of the Engineering Systems Optimization book showing tags for different versions.major.errataversioning for books which are more stable over years, in which big changes are covered only by the version number.
The details of TeachBooks versioning are covered here
Changelog#
To communicate changes, we advise creating a changelog in the book. The template contains an empty changelog to fill:
# Changelog

## `<latest version>`: `<date>`
- `<Added/modified/deleted>` [](`<relative link to changed file>`)
- ...
- Full Changelog: `[<previous version>...<current version>](<link to diff as provided by GitHub>)'

## `<previous version>`: <...>
- <...>

<...>
An example can be found here
Note on version change on page#
When making errata changes or additions, it’s advised to notify the reader not only in the changelog, but also on the relevant pages. You can do so using the versionadded and versionchanged admonitions:
::::::{versionchanged} <version_number> <date of version release>
<explanation of change on current page>
::::::
and
::::::{versionadded} <version_number> <date of version release>
<explanation of addition on/of current page>
::::::
Leads to for example:
Changed in version v2025.3.5: 2025-02-23
TeachBooks versioning added
An example can be found here
Implement tags and releases#
Tags can be added to your source code by adding the version number as a tag to a specific commit.
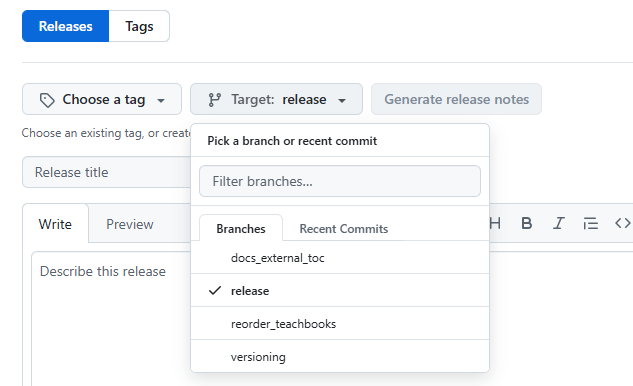
You can do so in GitHub when creating a new release (on the Code page of your repository.) There, you can enter a name for your tag and select one of your branches or recent commits:
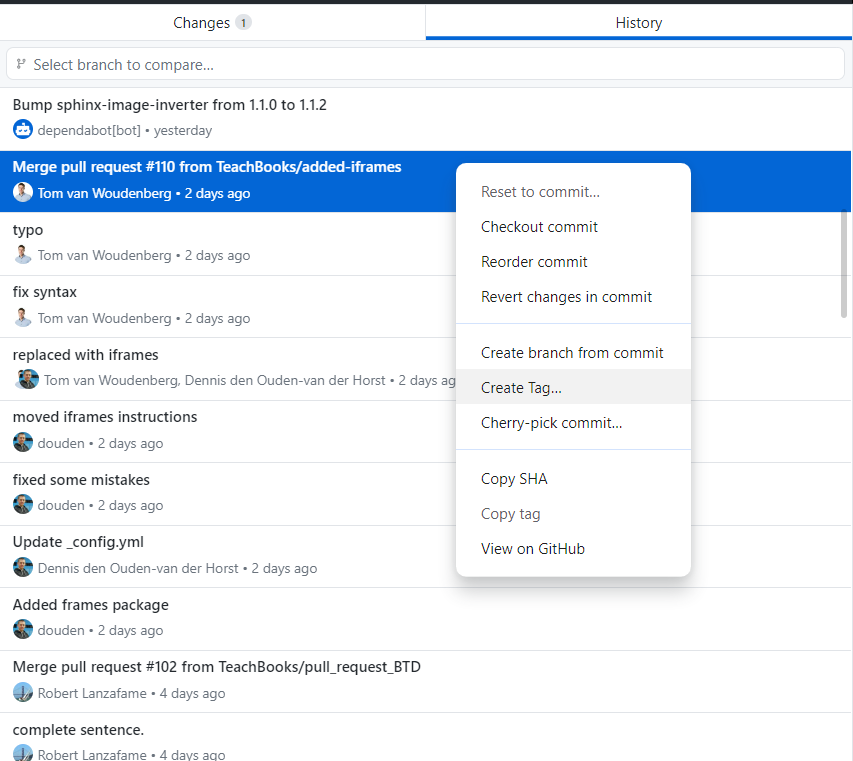
Locally, you can do so in GitHub Desktop by clicking ‘Create Tag…` for a specific commit in the History tab.
Once the tags is pushed to GitHub/GitLab. You can create a release of the version by clicking Release on the Code page of your repository. There you can select a tag and generate release notes.
It’s recommended to add the relevant part of the changelog to the release notes on GitHub. An example can be found here